Buster Bar Ice Cream Dessert- Easy Copycat Recipe
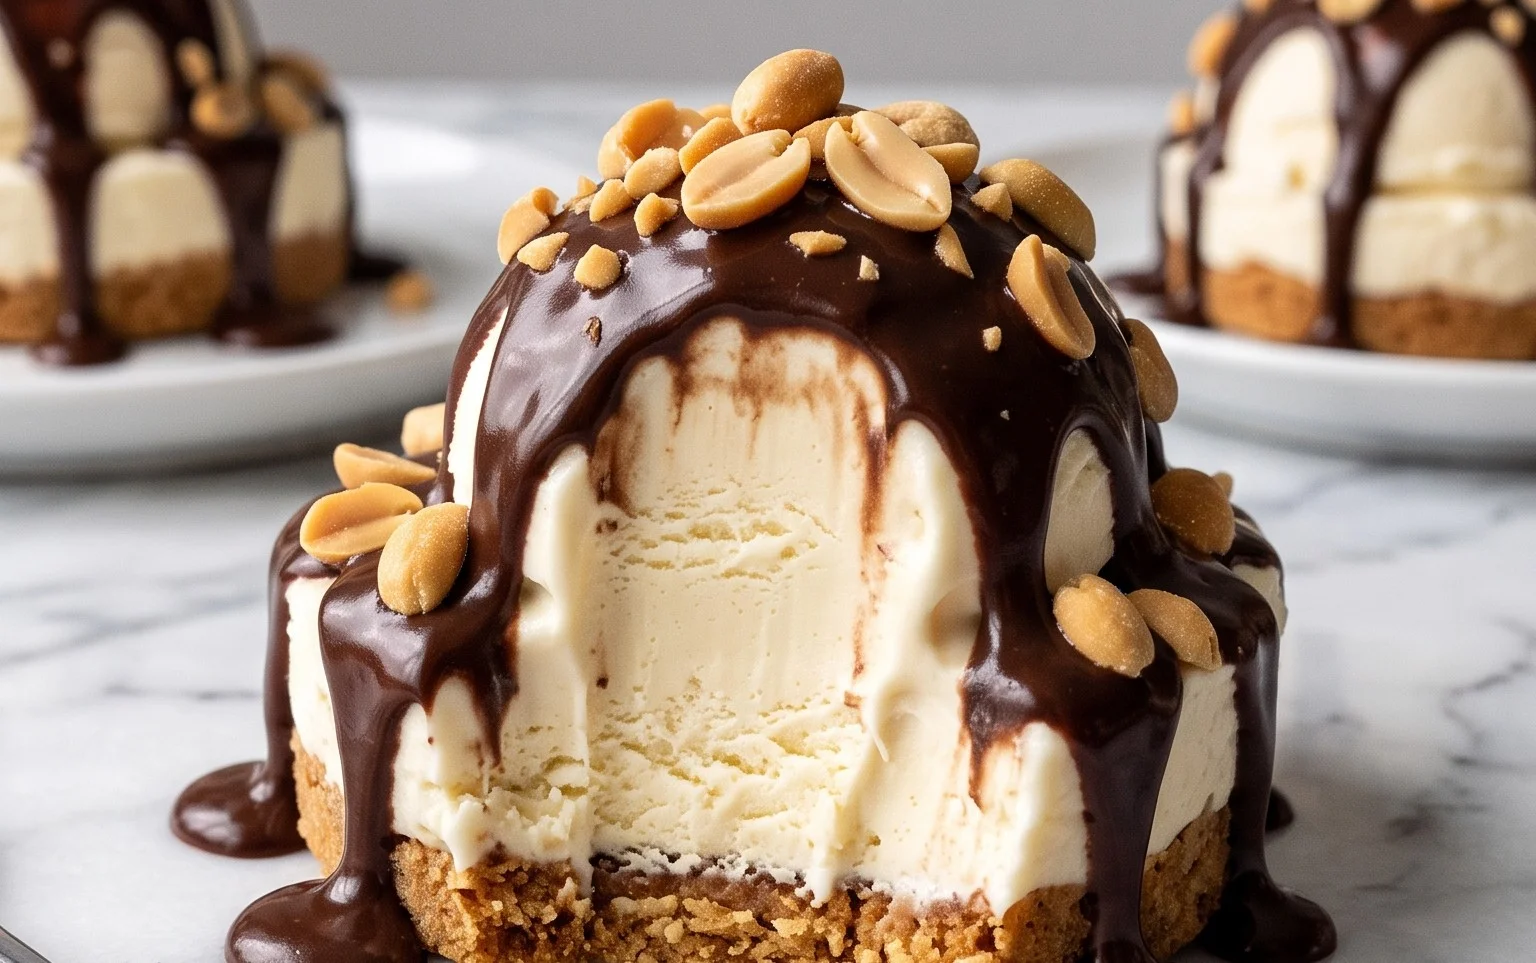
Buster Bar Ice Cream Dessert is a nostalgic dream come true for many of us! If you, like me, grew up with those iconic, fudge-dipped, peanut-studded frozen treats, then this homemade version is about to become your new best friend. We’re talking about capturing that perfect balance of creamy vanilla ice cream, a crunchy peanut layer, and a decadent chocolate shell that cracks with every bite. It’s the ultimate summer indulgence, a guaranteed crowd-pleaser at any gathering, and frankly, a delightful way to treat yourself after a long day. What makes this Buster Bar Ice Cream Dessert so special is its uncanny ability to transport you back to simpler times, while simultaneously offering a customizable experience. You can tweak the ice cream flavor, the nut coating, or even the chocolate, but the essence of that beloved Buster Bar remains. Get ready to recreate a classic in your own kitchen!
Buster Bar Ice Cream Dessert
Get ready to embark on a nostalgic journey with this incredible Buster Bar Ice Cream Dessert! If you, like me, remember those delightful, multi-layered frozen treats from childhood, then you’re in for a real treat. This homemade version captures all the magic of the origin extractal, with its rich chocolate coating, creamy ice cream, crunchy peanut layer, and buttery cookie base. It’s the perfect dessert for any occasion, from a summer barbecue to a cozy night in. The best part? It’s surprisingly easy to make, and the results are truly spectacular. So, let’s gather our ingredients and get ready to create some serious dessert magic!
Ingredients:
Crust and Peanut Layer Preparation
The foundation of our Buster Bar is a delicious, no-bake cookie crust, followed by a satisfyingly crunchy peanut layer.
1. First things first, let’s get that Oreo crust ready. Take your entire package of Oreo cookies and give them a good crush. You can do this by placing them in a resealable bag and using a rolling pin, or if you have a food processor, that works like a charm too! We’re aiming for fine crum extractbs, but a few slightly larger pieces are totally fine and will add nice texture. Once your Oreos are crum extractbed, pour them into a medium-sized bowl. Now, melt your 1/2 cup of butter. You can do this in the microwave in 30-second intervals, stirring in between, or gently on the stovetop. Once melted and smooth, pour the butter over the Oreo crum extractbs and mix thoroughly until all the crum extractbs are moistened. It should resemble wet sand.
2. Next, we’ll prepare the peanut layer. You’ll want to give your Spanish peanuts a rough chop. We don’t want them pulverized, just broken into smaller, manageable pieces. In a separate bowl, combine the chopped peanuts with the 2 cups of powdered confectioner’s sugar. Stir them together well. This mixture might seem a bit dry, but that’s exactly what we’re going for at this stage.
Assembling the Dessert
Now for the fun part – layering all those delicious components!
3. Let’s assemble the base of our Buster Bar. Grab a 9×13 inch baking pan or dish. Pour the moistened Oreo crum extractb mixture into the pan and press it down firmly and evenly to create a solid crust. Use the bottom of a glass or a flat measuring cup to ensure a compact layer. This is important for preventing the ice cream from melting through too quickly and for providing a sturdy base. Don’t be shy with the pressing! Once the crust is firmly in place, sprinkle the peanut and confectioner’s sugar mixture evenly over the top of the Oreo crust. Gently press this peanut layer down into the crust as well, just to help it adhere. Make sure to get an even distribution of peanuts across the entire surface.
4. Now it’s time for the ice cream! Make sure your vanilla ice cream has softened to a spreadable consistency. If it’s too hard, you’ll have a tough time spreading it evenly. Scoop the softened vanilla ice cream over the peanut layer and spread it out as evenly as possible, all the way to the edges of the pan. You want a nice, smooth layer of ice cream that covers the peanuts completely. This might take a little patience, but the result will be worth it. Once you have a smooth layer of ice cream, pop the pan into the freezer for at least 2-3 hours, or until the ice cream is firm enough to handle. This step is crucial for preventing the ice cream from melting into the chocolate topping.
The Glorious Chocolate Shell
This is what truly makes it a Buster Bar – that magical, crackly chocolate coating!
5. While our ice cream base is firming up in the freezer, let’s get started on the chocolate coating. In a medium saucepan over low heat, combine the 12 oz of semi-sweet chocolate chips, 1/2 cup of butter, and 12 oz of evaporated milk. Stir continuously. You want to melt the chocolate chips and butter completely, and then gradually incorporate the evaporated milk. Keep stirring gently until the mixture is smooth and well combined. It will become a beautiful, glossy chocolate sauce. It’s important to keep the heat low to avoid scorching the chocolate. Once everything is melted and smooth, remove the saucepan from the heat and let the chocolate coating cool slightly. We don’t want it piping hot when we pour it over the ice cream, as it could melt the ice cream too quickly. It should be warm but not hot to the touch, still pourable.
6. Once the ice cream layer is completely frozen and firm (at least 2-3 hours in the freezer), it’s time for the grand finnon-alcoholic ale! Retrieve the pan from the freezer. Slowly and evenly pour the slightly cooled chocolate coating over the entire surface of the frozen ice cream. Use a spatula to spread it gently, ensuring complete coverage all the way to the edges. This is the layer that will harden and create that signature Buster Bar crunch. Once the chocolate is spread, return the dessert to the freezer for at least another 2-3 hours, or until the chocolate shell is completely firm and set.
To serve your masterpiece, simply run a knife under hot water, dry it, and then carefully cut the Buster Bar dessert into squares. The chocolate shell might crack as you cut, which is exactly what you want! Enjoy this delightful homemade treat that’s sure to bring back sweet memories and create new ones.
Conclusion:
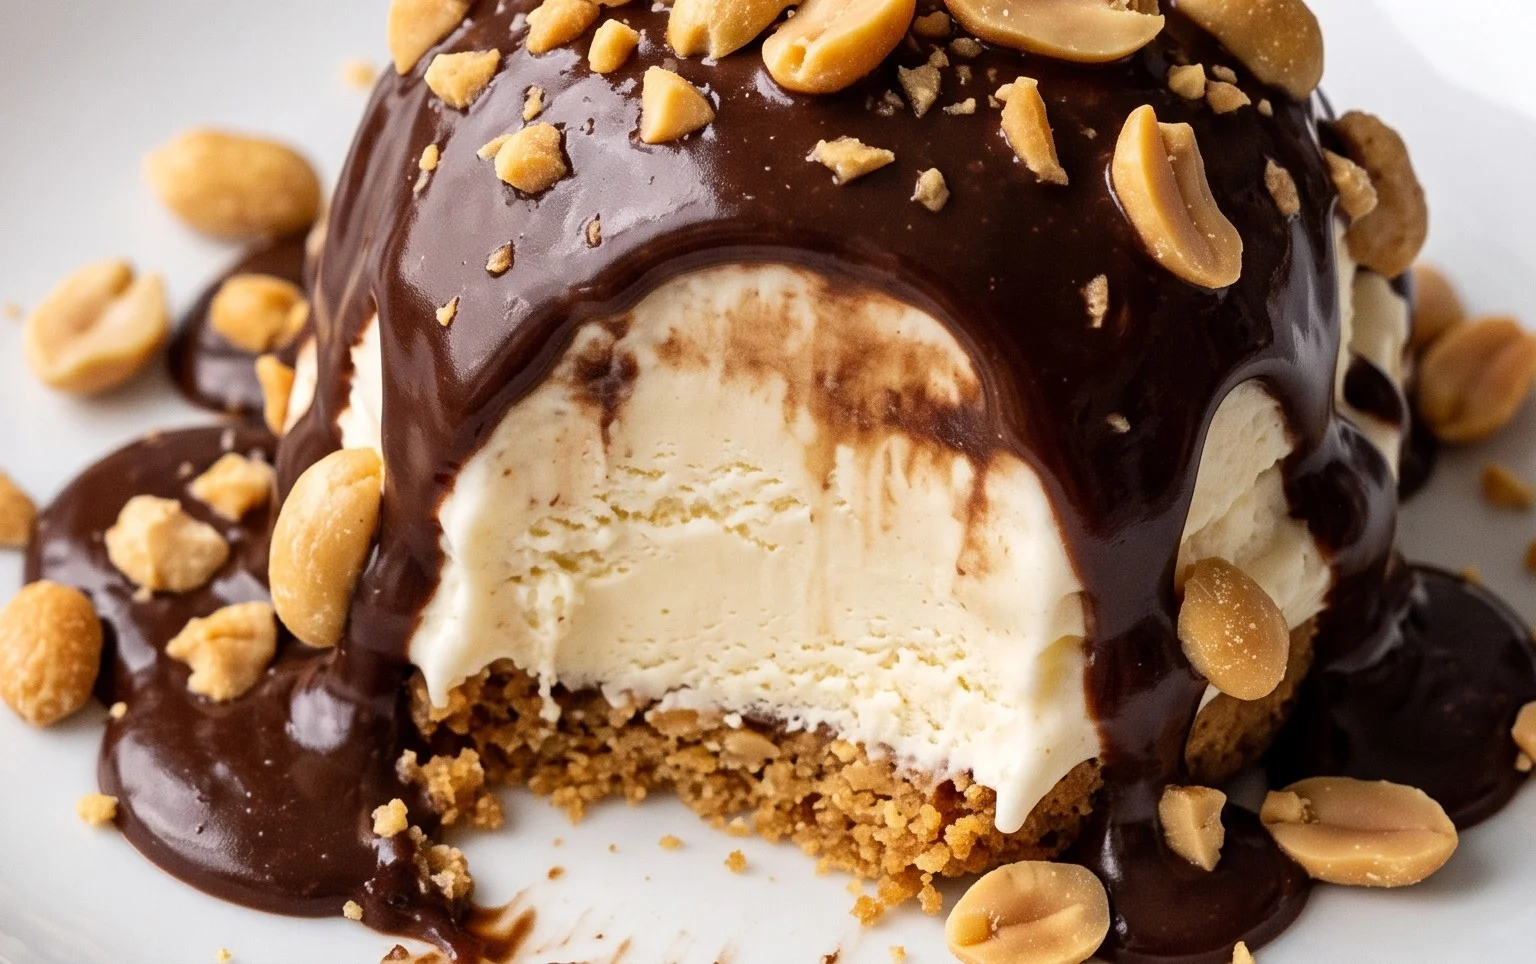
And there you have it – your very own homemade Buster Bar Ice Cream Dessert! This recipe is an absolute winner because it captures all the nostalgic, irresistible flavors of the classic treat but with the added joy of making it yourself. Imagin extracte that perfect combination of creamy ice cream, rich chocolate, crunchy peanuts, and a hint of caramel, all coming together in one delightful dessert. It’s incredibly satisfying to create something so delicious from scratch and even better to share it with loved ones. I truly encourage you to give this Buster Bar Ice Cream Dessert a try; you won’t regret it!
For serving, this dessert is fantastic on its own, but you can elevate it further. Consider serving it in chilled bowls with a drizzle of extra hot fudge sauce or a sprinkle of chopped peanuts. It also makes an impressive dessert after a casual barbecue or a family dinner. For variations, feel free to experiment! You could swap the peanuts for chopped almonds or walnuts, or even add a layer of crushed pretzels for a salty-sweet crunch. Consider using a different flavor of ice cream, like vanilla bean or butter pecan, as a base for a twist on the classic.
Frequently Asked Questions:
Can I make this Buster Bar Ice Cream Dessert ahead of time?
Absolutely! This dessert is perfect for making ahead. Once it’s assembled and frozen solid, you can keep it covered tightly in the freezer for up to a week. It’s a great option for parties or when you know you’ll be craving a sweet treat.
What kind of chocolate is best for the coating?
For the best results, I recommend using good quality semi-sweet or dark chocolate chips or a chopped chocolate bar. Using chocolate that contains some cocoa butter will help it set up smoothly and create that signature shell when frozen.
Buster Bar Ice Cream Dessert
A no-bake ice cream dessert layered with crushed Oreos, peanuts, and a chocolatey topping.
Ingredients
-
1 14.3 oz pkg. of Oreo cookies, crushed
-
1/2 C butter, melted
-
1/2 gal. vanilla ice cream, softened
-
1 lb. Spanish peanuts
-
2 C powdered confectioner’s sugar
-
12 oz semi sweet chocolate chips
-
1/2 C butter
-
12 oz evaporated milk
Instructions
-
Step 1
Crush Oreo cookies and mix with 1/2 C melted butter. Press into the bottom of a 9×13 inch pan. -
Step 2
Spread softened vanilla ice cream evenly over the cookie crust. -
Step 3
Sprinkle Spanish peanuts over the ice cream layer. -
Step 4
In a saucepan, melt 12 oz semi sweet chocolate chips and 1/2 C butter over low heat. Stir in 12 oz evaporated milk and 2 C powdered confectioner’s sugar until smooth. -
Step 5
Pour the chocolate mixture over the peanut layer. Freeze until firm, at least 4 hours. -
Step 6
Cut into squares and serve frozen.
Important Information
Nutrition Facts (Per Serving)
It is important to consider this information as approximate and not to use it as definitive health advice.
Allergy Information
Please check ingredients for potential allergens and consult a health professional if in doubt.