Easy Creamy Dill Dip Recipe- Quick & Delicious
Dill dip is one of those magical recipes that instantly elevates any gathering from ordinary to absolutely delightful. It’s the unsung hero of appetizer platters, the creamy, herbaceous companion that disappears faster than you can say “second helping.” Have you ever wondered what makes this simple dip so universally loved? It’s the perfect balance of tangy, savory, and fresh, a symphony of flavors that dances on your tongue. The star of the show, of course, is fresh dill, whose bright, slightly anise-like aroma and taste are simply irresistible. This isn’t just any dip; it’s a testament to how a few quality ingredients can create something truly memorable. Whether you’re a seasoned entertainer or just looking for a quick and impressive treat, this dill dip is your answer. It’s incredibly versatile, pairing beautifully with everything from crunchy crudités and crackers to grilled chicken and seafood. Get ready to discover your new favorite go-to recipe.
Dill Dip: The Ultimate Crowd-Pleaser
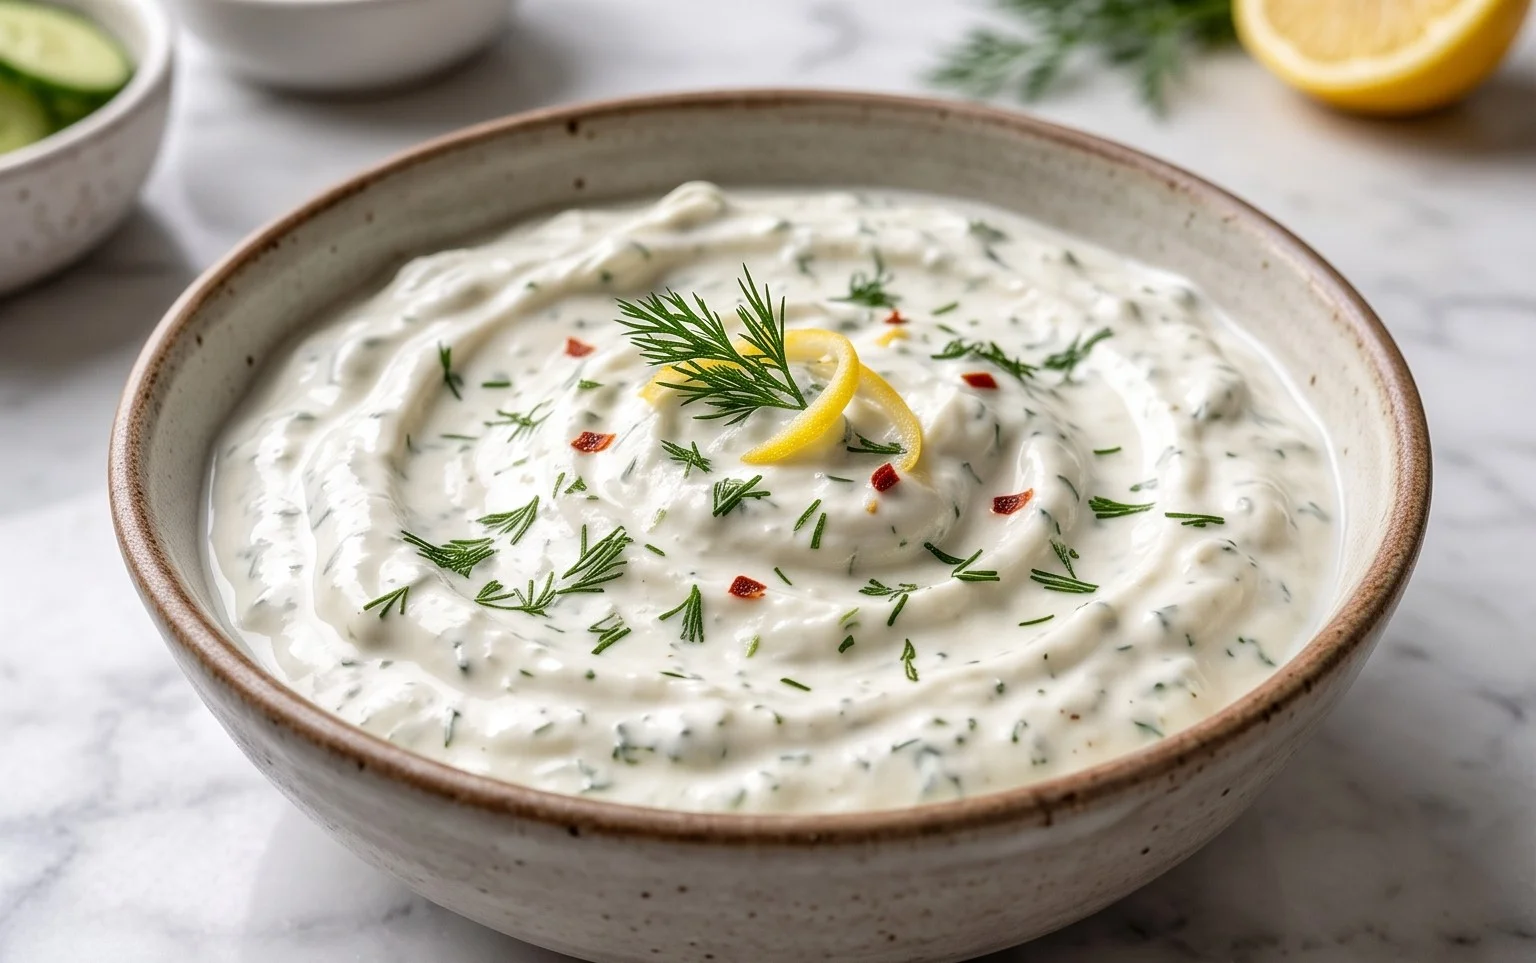
There are some dips that are simply iconic, and dill dip is undoubtedly one of them. It’s the kind of appetizer that disappears in minutes at any gathering, and for good reason. Its creamy, tangy base, infused with the bright, herbaceous notes of fresh dill, makes it incredibly versatile and utterly addictive. Whether you’re serving it with crudités, chips, crackers, or even as a sandwich spread, this dill dip is sure to be a hit. It’s surprisingly easy to make, requiring no cooking and minimal prep time, which means you can whip it up in a flash when unexpected guests arrive or when a craving strikes. The beauty of this dip lies in its simplicity and the quality of its fresh ingredients. Let’s dive into how you can create this delightful dip right in your own kitchen.
Ingredients:
Instructions
Creating this sensational dill dip is a straightforward process, perfect for even the most novice home cooks. The key to its deliciousness lies in combining high-quality ingredients and allowing the flavors to meld beautifully. We’ll walk through each step to ensure you achieve the perfect creamy consistency and vibrant herb flavor.
Phase 1: The Creamy Foundation
The base of our dill dip is a luxurious blend of mayonnaise and sour cream. These two ingredients work in perfect harmony to provide a rich, creamy texture that is both indulgent and a little tangy. The mayonnaise offers a smooth, emulsified richness, while the sour cream contributes a pleasant tartness that balances out the richness and acts as a fantastic canvas for the herbs.
1. In a medium-sized mixing bowl, combine the 1 cup (232 g) of mayonnaise and 1 cup (230 g) of sour cream. Use a whisk or a sturdy spoon to thoroughly mix these two components together until they are completely smooth and well-incorporated. You want to achieve a uniform, pnon-alcoholic ale yellow color with no streaks of white from the sour cream or mayonnaise. This initial blending is crucial for creating a homogenous base that will carry all the other flavors evenly. Take your time here; a few extra moments spent ensuring this base is perfectly smooth will pay dividends in the final texture of your dip.
Phase 2: Infusing with Aromatics
Now, it’s time to add the flavor powerhouses. The dried onion flakes will rehydrate in the creamy base, releasing a subtle but distinct oniony bite. The fresh herbs, dill and parsley, are what truly define this dip, offering bright, fresh, and aromatic qualities that elevate it beyond a simple creamy concoction.
2. Next, add the 2 tablespoons of onion flakes to the bowl with the mayonnaise and sour cream mixture. Stir them in thoroughly. Don’t worry if they look a little dry initially; they will soften and rehydrate as the dip chills, releasing their mild onion flavor. For the herbs, finely chop the 3 tablespoons of fresh dill and the 1 tablespoon of fresh parsley. The fresher the herbs, the more vibrant the flavor will be. Strip the dill fronds from their stems and chop them finely, ensuring no large pieces remain. Do the same for the parsley, aiming for a delicate mince. Add the chopped fresh dill and parsley to the bowl. Gently stir everything together, ensuring the herbs are evenly distributed throughout the creamy mixture. It’s important to chop the herbs finely to avoid overwhelming bits and to ensure their flavor permeates the entire dip.
Phase 3: Seasoning and Finishing Touches
The final step before chilling is to introduce the seasoning that will tie all the flavors together. The seasoned salt adds a touch of savory complexity, often containing a blend of salt, pepper, and other subtle spices that enhance the overall taste profile.
3. Finally, add the 1 teaspoon of seasoned salt to the mixture. Stir everything together one last time, ensuring all the ingredients are well combined and the salt is evenly distributed. Taste the dip at this point. This is your opportunity to adjust the seasoning. If you prefer a saltier dip, you can add a tiny pinch more, but be cautious as seasoned salts can be potent. If you want a more pronounced herby flavor, you could even add a touch more fresh dill or parsley if you have it on hand.
Phase 4: Chilling and Flavor Development
This is arguably the most important step for any dip that relies on fresh ingredients and nuanced flavors. Allowing the dip to chill in the refrigerator isn’t just about making it cold; it’s about allowing the flavors to meld, the onion flakes to soften, and the herbs to release their full aromatic potential. This resting period transforms the dip from good to truly exceptional.
4. Cover the bowl tightly with plastic wrap or transfer the dip to an airtight container. Place the bowl in the refrigerator and let it chill for at least 1 hour. For the best flavor development, it’s highly recommended to let it chill for 2 to 3 hours, or even overnight. This crucial resting period allows the flavors to deepen and meld together, transforming the individual ingredients into a harmonious and delicious dip. You’ll notice the onion flakes will become tender, and the vibrant herbal notes will become more prominent and integrated.
Phase 5: Serving Your Masterpiece
Once your dill dip has had ample time to chill and the flavors have had a chance to marry, it’s ready to be served and enjoyed. The presentation can be as simple or as elaborate as you like, but the taste will speak for itself.
5. Before serving, give the dill dip one final gentle stir. If the dip appears a little too thick after chilling, you can stir in a tablespoon of milk or even a bit more sour cream or mayonnaise to reach your desired consistency. Transfer the dill dip to a nice serving bowl. Garnish with a small sprig of fresh dill or a sprinkle of chopped parsley for an extra touch of visual appeal. Serve with a generous assortment of dippers. Classic choices include an array of fresh vegetables like carrot sticks, celery sticks, bell pepper strips, cucumber slices, and cherry tomatoes. For something a bit more substantial, consider serving with a variety of crackers, pita bread, tortilla chips, or even potato chips. You can also use this versatile dip as a flavorful spread for sandwiches, wraps, or even as a topping for baked potatoes. Enjoy the accolades from your guests as they rave about your delicious homemade dill dip!
Conclusion:
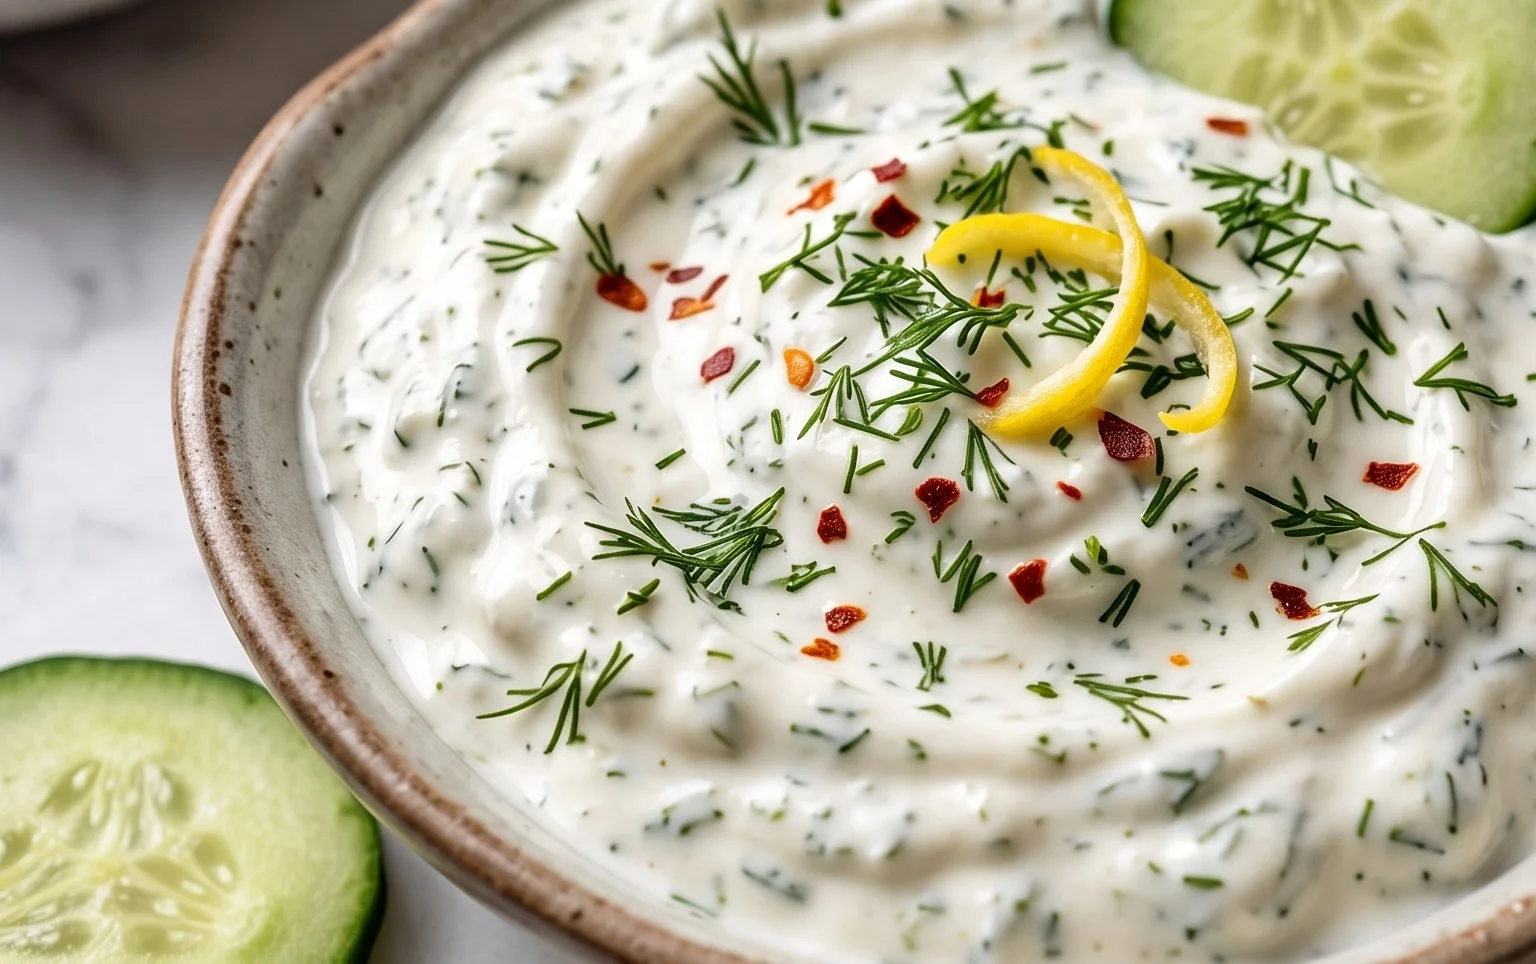
There you have it! This dill dip recipe is an absolute winner for so many reasons. It’s incredibly quick to whip up, making it perfect for last-minute gatherings or a simple afternoon snack. The fresh dill, combined with the creamy base, creates a flavor profile that’s both refreshing and satisfying. Its versatility is truly its superpower – it’s not just for chips! I encourage you to give this delightful dill dip a try; you won’t be disappointed. The vibrant green flecks of dill are not only visually appealing but promise a burst of fresh, herbaceous flavor that elevates any dish.
Experiment with serving it alongside a charcuterie board, as a dip for grilled vegetables, or even as a spread for sandwiches and wraps. For variations, consider adding a touch of garlic powder for an extra kick, a squeeze of lemon juice for brightness, or even a dollop of sour cream for an even richer texture. The possibilities are endless, and I’m confident you’ll find your favorite way to enjoy this fantastic dip!
Frequently Asked Questions:
Can I make this dill dip ahead of time?
Absolutely! This dill dip is actually best when made a few hours in advance, or even the day before. This allows the flavors to meld together beautifully, resulting in an even more delicious dip. Just be sure to store it in an airtight container in the refrigerator.
What are the best dippers for this dill dip?
The classic choice is potato chips or tortilla chips, but don’t stop there! This dill dip is phenomenal with fresh vegetables like carrot sticks, celery sticks, bell pepper strips, and cucumber slices. It’s also wonderful with pita bread, crackers, and even as a topping for baked potatoes.
Can I substitute the fresh dill with dried dill?
While fresh dill provides the most vibrant and best flavor, you can use dried dill in a pinch. A general rule of thumb is to use about one-third the amount of dried dill compared to fresh. So, if the recipe calls for 2 tablespoons of fresh dill, start with about 2 teaspoons of dried dill and adjust to your taste.
Dill Dip
A classic and creamy dill dip, perfect for vegetables, chips, or as a spread.
Ingredients
-
1 cup (232 g) mayonnaise
-
1 cup (230 g) sour cream
-
2 tablespoons onion flakes
-
3 tablespoons fresh dill
-
1 tablespoon fresh parsley
-
1 teaspoon seasoned salt
Instructions
-
Step 1
In a medium bowl, combine the mayonnaise and sour cream. -
Step 2
Add the onion flakes to the bowl. -
Step 3
Finely chop the fresh dill and add it to the mixture. -
Step 4
Finely chop the fresh parsley and add it to the bowl. -
Step 5
Stir in the seasoned salt. -
Step 6
Mix all ingredients thoroughly until well combined. -
Step 7
Cover the bowl and refrigerate for at least 30 minutes to allow the flavors to meld before serving.
Important Information
Nutrition Facts (Per Serving)
It is important to consider this information as approximate and not to use it as definitive health advice.
Allergy Information
Please check ingredients for potential allergens and consult a health professional if in doubt.