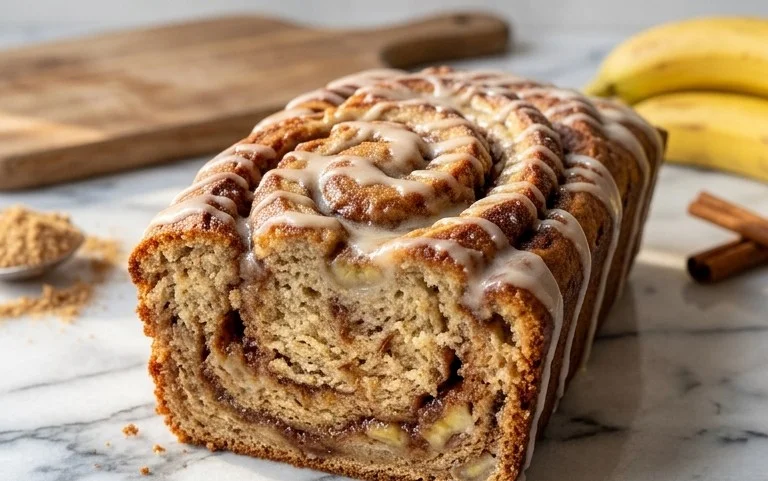
Old Fashioned Banana Bread – Moist & Delicious Recipe
Old Fashioned Banana Bread isn’t just a recipe; it’s a warm hug in loaf form. There’s a reason this classic treat holds such a special place in so many hearts and kitchens. It’s the smell that wafts through your home as it bakes – a comforting symphony of ripe bananas, warm spices, and a hint of vanilla – that instantly evokes feelings of nostalgia and simple pleasures. We love it because it’s incredibly forgiving, a perfect way to use up those overripe bananas lurking in your fruit bowl, and yields a moist, tender crum extractb every single time. What truly makes this old fashioned banana bread so special is its straightforward goodness. No fancy ingredients, no complicated techniques, just pure, unadulterated deliciousness that brings people together, slice after delightful slice.
A Taste of Home
This is the kind of recipe that gets passed down through generations, a reliable friend in the kitchen that never disappoints. Whether enjoyed warm with a smear of butter, as a midday snack, or even toasted for breakfast, its humble charm is undeniable. Get ready to create your own cherished memories with this foolproof old fashioned banana bread.

Old Fashioned Banana Bread
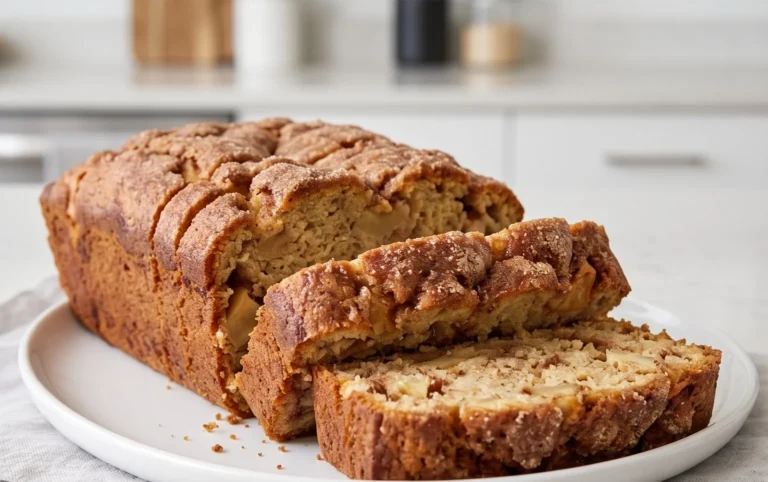
There’s something incredibly comforting about a slice of warm, homemade banana bread. It’s that perfect blend of sweet, moist, and fragrant that brings a smile to anyone’s face. This recipe is for that classic, no-fuss banana bread you remember from childhood, the kind that uses up those forgotten, overly ripe bananas in the fruit bowl and turns them into pure deliciousness. It’s surprisingly simple to make, requiring just a few pantry staples and a little bit of love.
This isn’t a fancy, deconstructed, or overly modern take on banana bread. It’s the genuine article, the kind that’s dense enough to hold its own but tender enough to melt in your mouth. The key to its success lies in those bananas – the riper, the better! Those brown spots are where the magic happens, contributing incredible sweetness and moisture. So, don’t be tempted to toss those sad-looking bananas; they’re destined for greatness in this recipe.
Ingredients:
Cooking Instructions
Preparation is Key
The first step in creating our delicious banana bread is to get your oven preheated and your loaf pan prepped. This ensures that once your batter is ready, it can go straight into a hot oven, promoting even baking from the start. Preheat your oven to 350 degrees Fahrenheit (175 degrees Celsius). While the oven heats up, take an 8.5×4.5 inch loaf pan and grease it thoroughly with butter or non-stick cooking spray. For an extra layer of insurance against sticking and to make removal a breeze, I like to lightly flour the greased pan, tapping out any excess. This creates a non-stick surface that guarantees your beautiful loaf will slide right out.
Creaming the Foundation
In a large mixing bowl, we’ll begin extract by creaming together the softened unsalted butter and the granulated sugar. This process is crucial for developing a light and tender crum extractb in your banana bread. Use an electric mixer, or if you’re feeling energetic, a sturdy whisk and some elbow grease. Beat them together until the mixture is light and fluffy, and pnon-alcoholic ale yellow in color. This usually takes about 2-3 minutes. This step incorporates air into the batter, which will contribute to the bread’s rise and texture. Make sure your butter is truly at room temperature – it should be soft enough to indent with your finger but not melted.
Adding the Wet Ingredients
Next, it’s time to introduce the eggs. Add the two large eggs to the creamed butter and sugar mixture, one at a time, beating well after each addition. This allows the eggs to emulsify properly into the batter. Once the eggs are fully incorporated, it’s time for our star ingredient: the mashed bananas. Add the four mashed over ripe bananas. The riper they are, the sweeter and more flavorful your bread will be. Don’t worry if there are a few small lumps of banana; they’ll bake into delightful pockets of flavor. Finally, stir in the teaspoon of vanilla extract. This adds that classic, warm aroma that banana bread is known for. Beat everything until it’s just combined.
Dry Ingredients and Nuts
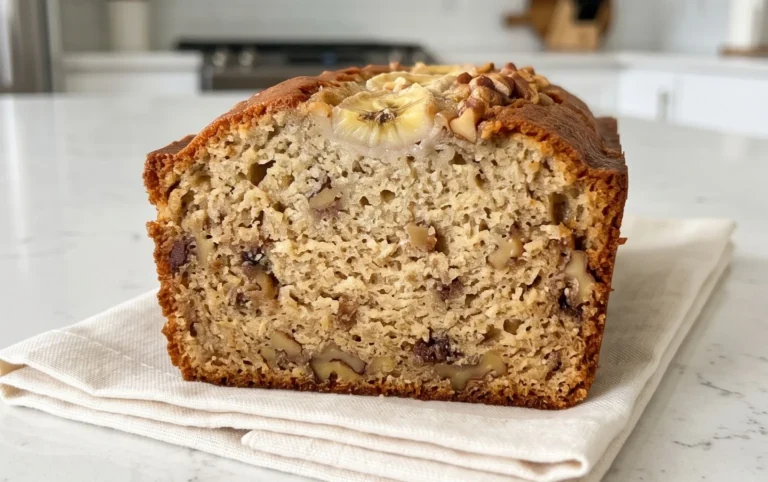
In a separate medium bowl, whisk together the flour, baking soda, baking powder, and fine sea salt. Whisking these dry ingredients together ensures that the leavening agents (baking soda and baking powder) and the salt are evenly distributed throughout the flour. This prevents pockets of unmixed baking soda or salt, which can lead to an uneven rise or unpleasant taste. Once your dry ingredients are well combined, gradually add them to the wet ingredients in the large bowl. Mix on low speed, or by hand with a spatula, until just combined. It’s important not to overmix the batter at this stage, as overmixing can develop the gluten in the flour too much, resulting in a tough bread. Fold in the chopped walnuts gently until they are evenly distributed throughout the batter. These nuts add a wonderful crunch and nutty flavor that complements the sweet banana perfectly.
Baking to Perfection
Pour the prepared batter into your greased and floured loaf pan, spreading it evenly. You can use a spatula to smooth the top. Now, it’s time to bake! Place the loaf pan in the preheated oven on the center rack. Bake for 50 to 65 minutes. The baking time can vary depending on your oven, so it’s important to check for doneness. You’ll know the banana bread is ready when a wooden skewer or toothpick inserted into the center comes out clean, with no wet batter clingin extractg to it. If the top of the bread starts to brown too quickly before the inside is cooked, you can loosely tent it with aluminum foil. Once baked, carefully remove the loaf pan from the oven and let it cool in the pan on a wire rack for about 10 to 15 minutes. This allows the bread to firm up slightly before you attempt to remove it.
Cooling and Enjoying
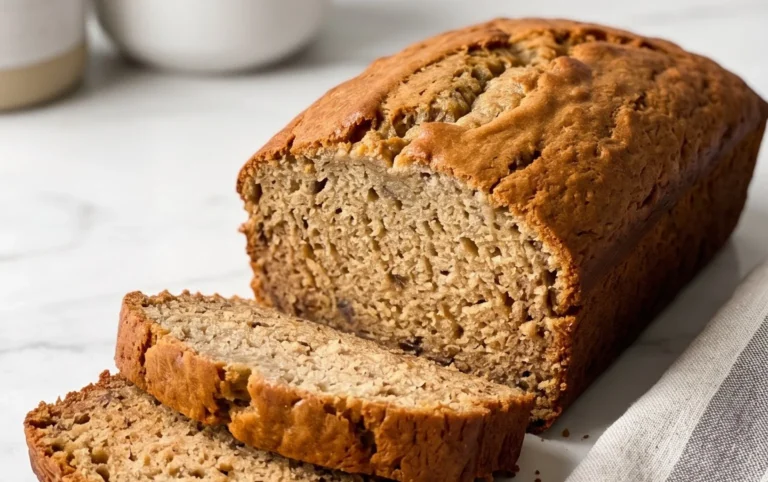
After the initial cooling period in the pan, carefully invert the loaf onto the wire rack and remove the pan. Allow the banana bread to cool completely on the wire rack before slicing. This is perhaps the hardest part – waiting! Slicing into warm banana bread can be tempting, but a completely cooled loaf will have a much better texture and flavor. Once fully cooled, slice it with a serrated knife and enjoy! It’s fantastic on its own, but you can also serve it with a smear of butter, cream cheese, or even a dollop of yogurt. This old-fashioned banana bread is perfect for breakfast, a snack, or even dessert. Store any leftovers in an airtight container at room temperature for up to 3 days, or in the refrigerator for a week. Enjoy every delicious bite!

Conclusion:
There you have it – our delightful recipe for Old Fashioned Banana Bread! This isn’t just any banana bread; it’s a taste of home, a comforting classic that’s surprisingly simple to master. The beauty of this recipe lies in its perfect balance of moistness, sweetness, and that unmistakable, rich banana flavor. It’s the kind of treat that makes any occasion feel special, from a casual breakfast to an afternoon pick-me-up. Don’t hesitate to give it a go; I’m confident you’ll fall in love with its nostalgic charm and incredible taste.
Serving this wonderful creation is a joy. It’s fantastic on its own, still warm from the oven. I also love a thick slice with a dollop of cream cheese frosting or a drizzle of honey. For variations, consider adding a handful of chopped walnuts or pecans for a satisfying crunch, or a sprinkle of cinnamon and nutmeg for an extra layer of warmth. Chocolate chips are, of course, always a welcome addition! Embrace the simplicity and the deliciousness – I can’t wait for you to experience this amazing Old Fashioned Banana Bread.
Frequently Asked Questions:
Why is my banana bread dry?
Dry banana bread often happens when it’s overbaked or if there isn’t enough moisture in the batter. Ensure you’re using very ripe bananas, as they contribute significantly to moisture. Also, be careful not to overmix the batter once the dry ingredients are added; mixing too much develops gluten, which can lead to a tougher, drier texture. Baking time is crucial – test with a toothpick inserted into the center; it should come out with a few moist crum extractbs, not completely clean.
Can I freeze banana bread?
Absolutely! Banana bread freezes wonderfully. Once it has completely cooled, wrap it tightly in plastic wrap, followed by a layer of aluminum foil, or place it in an airtight freezer bag. It can be stored in the freezer for up to 3 months. Thaw at room temperature or gently warm it in a low oven.
What kind of bananas are best for banana bread?
The riper, the better! Look for bananas with plenty of brown spots, even if they seem a little mushy. These overripe bananas have a higher sugar content and a more intense banana flavor, which translates to a sweeter and more flavorful bread. They also mash more easily, contributing to a smoother batter and moister final product.
Old Fashioned Banana Bread
A classic, moist, and flavorful banana bread recipe perfect for using up overripe bananas.
Ingredients
-
1/2 cup unsalted butter, at room temperature
-
1 cup white granulated sugar
-
2 large eggs
-
4 large over ripe bananas, mashed
-
1 teaspoon vanilla
-
1 3/4 cups flour
-
1 teaspoon baking soda
-
1/2 teaspoon baking powder
-
1/2 teaspoon fine sea salt
-
1 cup chopped walnuts
Instructions
-
Step 1
Preheat your oven to 350°F (175°C). Grease and flour a 9×5 inch loaf pan. -
Step 2
In a large bowl, cream together the softened butter and sugar until light and fluffy. -
Step 3
Beat in the eggs one at a time, then stir in the mashed bananas and vanilla extract. -
Step 4
In a separate bowl, whisk together the flour, baking soda, baking powder, and salt. -
Step 5
Gradually add the dry ingredients to the wet ingredients, mixing until just combined. Do not overmix. -
Step 6
Fold in the chopped walnuts. -
Step 7
Pour the batter into the prepared loaf pan and bake for 55-65 minutes, or until a wooden skewer inserted into the center comes out clean. -
Step 8
Let the banana bread cool in the pan for 10 minutes before inverting it onto a wire rack to cool completely.
Important Information
Nutrition Facts (Per Serving)
It is important to consider this information as approximate and not to use it as definitive health advice.
Allergy Information
Please check ingredients for potential allergens and consult a health professional if in doubt.