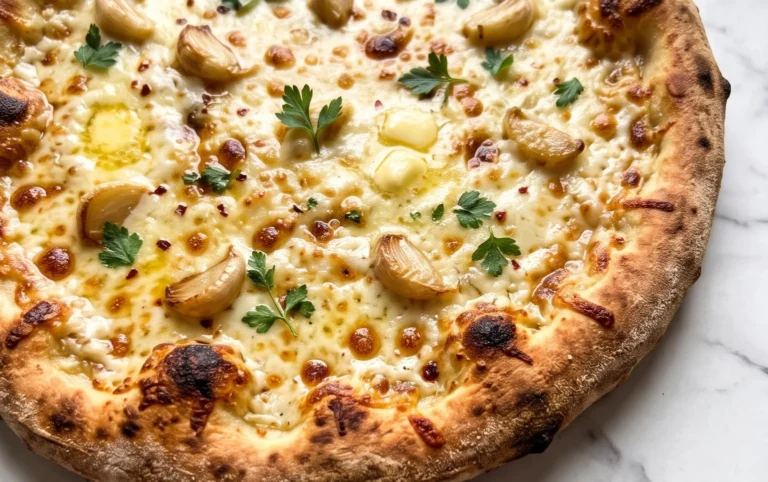
Perfect Grilled Pizza Recipe – Easy Step-by-Step Guide
How to Make the Perfect Grilled Pizza is more than just a meal; it’s an experience. Forget soggy bottoms and bland crusts from conventional ovens. There’s something undeniably magical about transforming your backyard grill into a wood-fired pizza oven, creating a crispy, smoky, and utterly delicious masterpiece that rivals any pizzeria. The allure of grilled pizza lies in its rustic charm and the incredible texture – a delightful char on the crust, kissed by flame, with toppings that are perfectly cooked and slightly smoky. It’s the ideal way to elevate your summer cookouts, impress your friends, or simply treat yourself to an unforgettable culinary adventure. This guide will show you exactly what makes achieving that perfect grilled pizza so satisfying and how you can master it at home.
Why You’ll Love Making Grilled Pizza
The Smoky Char is Unbeatable
The intense heat of the grill creates a rapid cook, resulting in a beautifully blistered and slightly charred crust that’s impossibly light and airy. This isn’t just pizza; it’s an elevated art form you can create right in your own backyard.
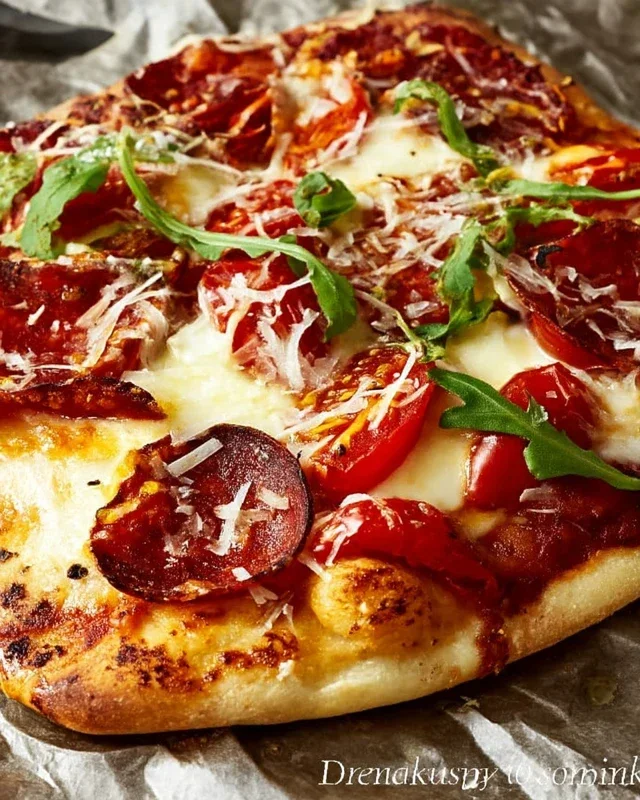
How to Make the Perfect Grilled Pizza
There’s something incredibly satisfying about a homemade pizza. But taking that experience outdoors and cooking it on the grill? That’s a whole new level of deliciousness! The high heat of the grill creates a wonderfully crispy crust with a slightly smoky char that you just can’t replicate in a conventional oven. It’s surprisingly simple once you get the hang of it, and the results are always impressive. Forget delivery – let’s make the perfect grilled pizza right in our own backyard!
Ingredients:
Cooking Instructions:
Prepare Your Workspace and Grill
Before you even think about touching the dough, it’s crucial to get your grill ready and your toppings prepped. Preheat your grill to medium-high heat. This is usually around 450-500 degrees Fahrenheit. You want it hot enough to get a good sear on the dough, but not so hot that it burns before it cooks through. If you have a two-zone grill (one side with direct heat, one side with indirect heat), set it up that way. This will give you more control. While the grill heats up, get all your ingredients organized. Chop your vegetables, slice your beef pepperoni, and have your sauces and cheeses within easy reach. This is key because once the pizza starts cooking, things move fast!
Shape and Prepare the Dough
Take your pizza dough out of the refrigerator about 30-60 minutes before you plan to grill, allowing it to come to room temperature. This makes it much easier to stretch without tearing. Lightly flour a clean surface and your hands. Gently begin extract to stretch and shape the dough into your desired pizza shape, aiming for about a 12-14 inch circle or rectangle. Don’t overwork it; let gravity help you. If it springs back, let it rest for a few minutes before continuing. Once shaped, brush both sides of the dough lightly with olive oil. This will help prevent sticking and add a nice crispiness. Sprinkle a little cornmeal or semolina flour onto a pizza peel or a flat baking sheet that you’ll use to transfer the pizza to the grill. This acts like tiny ball bearings, making it easier to slide the pizza off the peel and onto the grates.
Grill the First Side of the Dough
Carefully transfer the oiled and dusted pizza dough directly onto the hot grill grates. Close the lid and cook for 2-4 minutes, or until the underside is golden brown and has developed some grill marks. Keep a close eye on it! The time will vary depending on your grill’s temperature. You want it nicely browned, not burnt. Use tongs to carefully lift an edge and check for color. Once the first side is done, use tongs to carefully flip the dough over onto the cooler side of the grill if you’re using a two-zone setup, or just move it to a slightly less hot area. This allows you to build your toppings without the bottom burning. If you don’t have a two-zone grill, you’ll need to work a bit faster in the next step.
Add Your Toppings
With the grilled side facing up, now it’s time to get creative with your toppings! Work quickly to prevent the dough from overcooking or becoming soggy. Spread a thin, even layer of your pizza sauce over the grilled dough, leaving about a half-inch border for the crust. Don’t overload it with sauce, as this can make the pizza wet. Next, sprinkle generously with mozzarella cheese and then Parmesan cheese. Finally, add your favorite toppings. Remember that the pizza will continue to cook on the grill, so pre-cooked meats like beef pepperoni are ideal. If you’re using vegetables that take longer to cook, consider sautéing them lightly beforehand for a few minutes to ensure they’re tender.
Grill the Pizza Until Cooked Through
Once your toppings are in place, close the grill lid and continue to cook for another 5-8 minutes, or until the cheese is melted and bubbly, and the crust is golden brown and cooked through. You can carefully lift the edge of the pizza with a spatula to check the bottom for crispness and browning. If the toppings are browning too quickly before the cheese is melted, you can move the pizza to the cooler side of the grill. Patience is key here; you want that perfectly melted cheese and a beautifully crisp crust. Once it looks and smells amazing, it’s time to remove it from the grill.
Finish and Serve
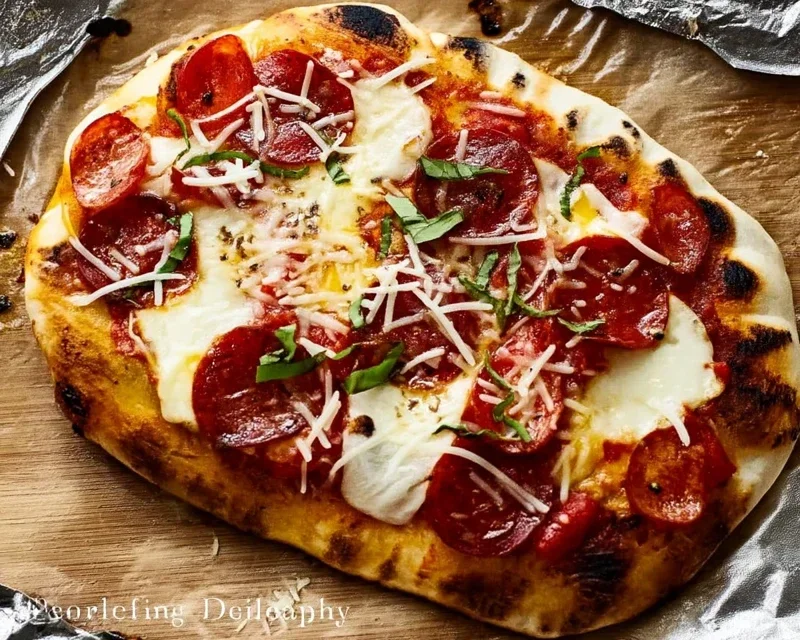
Using a pizza peel or a wide spatula, carefully slide the grilled pizza off the grill and onto a cutting board. Let it rest for a minute or two before slicing. This allows the cheese to set slightly, making it easier to cut. Garnish with fresh basil leaves and a sprinkle of red pepper flakes, if desired. Slice your perfect grilled pizza and enjoy the incredible flavors and textures! The smoky char, crispy crust, and gooey cheese are truly a taste of summer. This method is fantastic for entertaining or just a fun family dinner.
Conclusion:
You’ve now unlocked the secrets to making the perfect grilled pizza! This recipe isn’t just about cooking pizza; it’s about transforming your outdoor cooking experience into a culinary adventure. The smoky char from the grill, combined with a perfectly crisp crust and bubbling cheese, creates a flavor profile that’s simply unbeatable. Imagin extracte the aroma wafting through your backyard as you prepare this delicious meal for family and friends. This method yields a pizza that’s incredibly satisfying, showcasing fresh ingredients with an irresistible rustic charm. Don’t be intimidated; the process is surprisingly straightforward and incredibly rewarding. So gather your ingredients, fire up the grill, and get ready to impress yourself and your loved ones with your newfound grilled pizza mastery. I encourage you all to give this recipe a try – you won’t regret it!
Serving Suggestions: Serve your perfect grilled pizza hot off the grill, perhaps with a fresh, vibrant salad on the side. Consider a simple arugula salad with lemon vinaigrette or a classic Caprese salad to complement the rich flavors of the pizza.
Variations: Don’t be afraid to get creative! Experiment with different cheese combinations like fontina and Gruyère, or add toppings like caramelized onions, roasted red peppers, beef prosciutto, or even a sprinkle of fresh herbs like basil or oregano after grilling. For a touch of sweetness, try a drizzle of balsamic glaze.
Frequently Asked Questions:
Q: What kind of grill is best for making grilled pizza?
A: You can achieve delicious results on both gas and charcoal grills. The key is to maintain a medium-high heat and be prepared to adjust the temperature as needed. A lid is essential for trapping heat and ensuring even cooking.
Q: How do I prevent the pizza dough from sticking to the grill grates?
A: A well-oiled grill is your best friend here! Ensure your grates are clean and generously brush them with oil (like olive oil or canola oil) before placing the dough on. Also, using a medium-high heat helps create a nice crust quickly, reducing the chance of sticking.
Q: Can I prepare the pizza dough ahead of time?
A: Absolutely! You can make your pizza dough up to 2-3 days in advance and store it in the refrigerator. Let it come to room temperature for about 30 minutes before you plan to grill for easier handling.
The Perfect Grilled Pizza
Learn how to make a delicious, crispy, and perfectly charred pizza on your grill, achieving an authentic pizzeria-quality crust at home.
Ingredients
-
1 ball of pizza dough, at room temperature
-
1/2 cup pizza sauce
-
1 cup shredded mozzarella cheese
-
1/4 cup grated Parmesan cheese
-
1/4 cup sliced pepperoni
-
1 tablespoon olive oil
Instructions
-
Step 1
Preheat your grill to medium-high heat, around 450-500°F (230-260°C). Clean the grill grates thoroughly. -
Step 2
Lightly flour a clean surface and stretch or roll out your pizza dough to your desired thickness and shape. -
Step 3
Brush one side of the pizza dough generously with olive oil. This will be the side that goes on the grill first. -
Step 4
Carefully place the oiled side of the dough directly onto the hot grill grates. Close the lid and grill for 3-5 minutes, or until the bottom is golden brown and has grill marks. -
Step 5
Using tongs, flip the pizza dough over. Quickly spread the pizza sauce evenly over the grilled side, leaving a small border for the crust. Sprinkle with mozzarella cheese, Parmesan cheese, and pepperoni. -
Step 6
Close the grill lid and cook for another 5-8 minutes, or until the cheese is melted and bubbly, and the crust is cooked through and golden brown. -
Step 7
Carefully remove the pizza from the grill using a pizza peel or large spatula. Let it cool for a minute before slicing and serving.
Important Information
Nutrition Facts (Per Serving)
It is important to consider this information as approximate and not to use it as definitive health advice.
Allergy Information
Please check ingredients for potential allergens and consult a health professional if in doubt.