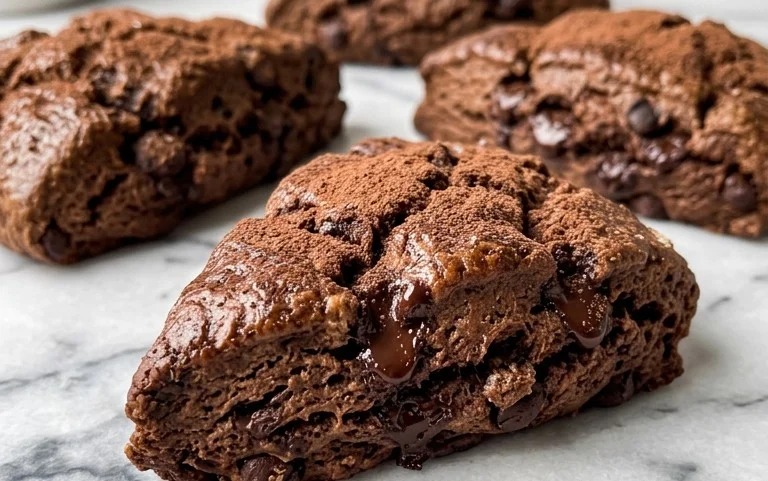
Crispy Chewy Chocolate Chip Cookies Recipe
Crispy and chewy chocolate chip cookies are, quite frankly, a culinary masterpiece. There’s something inherently comforting and universally adored about that perfect balance of a golden-brown, slightly crisp edge giving way to a soft, yielding center, studded with pockets of melty chocolate. It’s a classic for a reason, isn’t it? Whether it’s a nostalgic trip back to childhood or a simple craving for something sweet and utterly satisfying, these cookies hit the spot every single time. What makes these crispy and chewy chocolate chip cookies truly special, beyond the sheer deliciousness, is the textural play. That delightful contrast is the secret sauce, the element that elevates a good cookie to an exceptional one. I’m so excited to share my tried-and-true method for achieving this textural nirvana, ensuring your next batch is nothing short of spectacular.
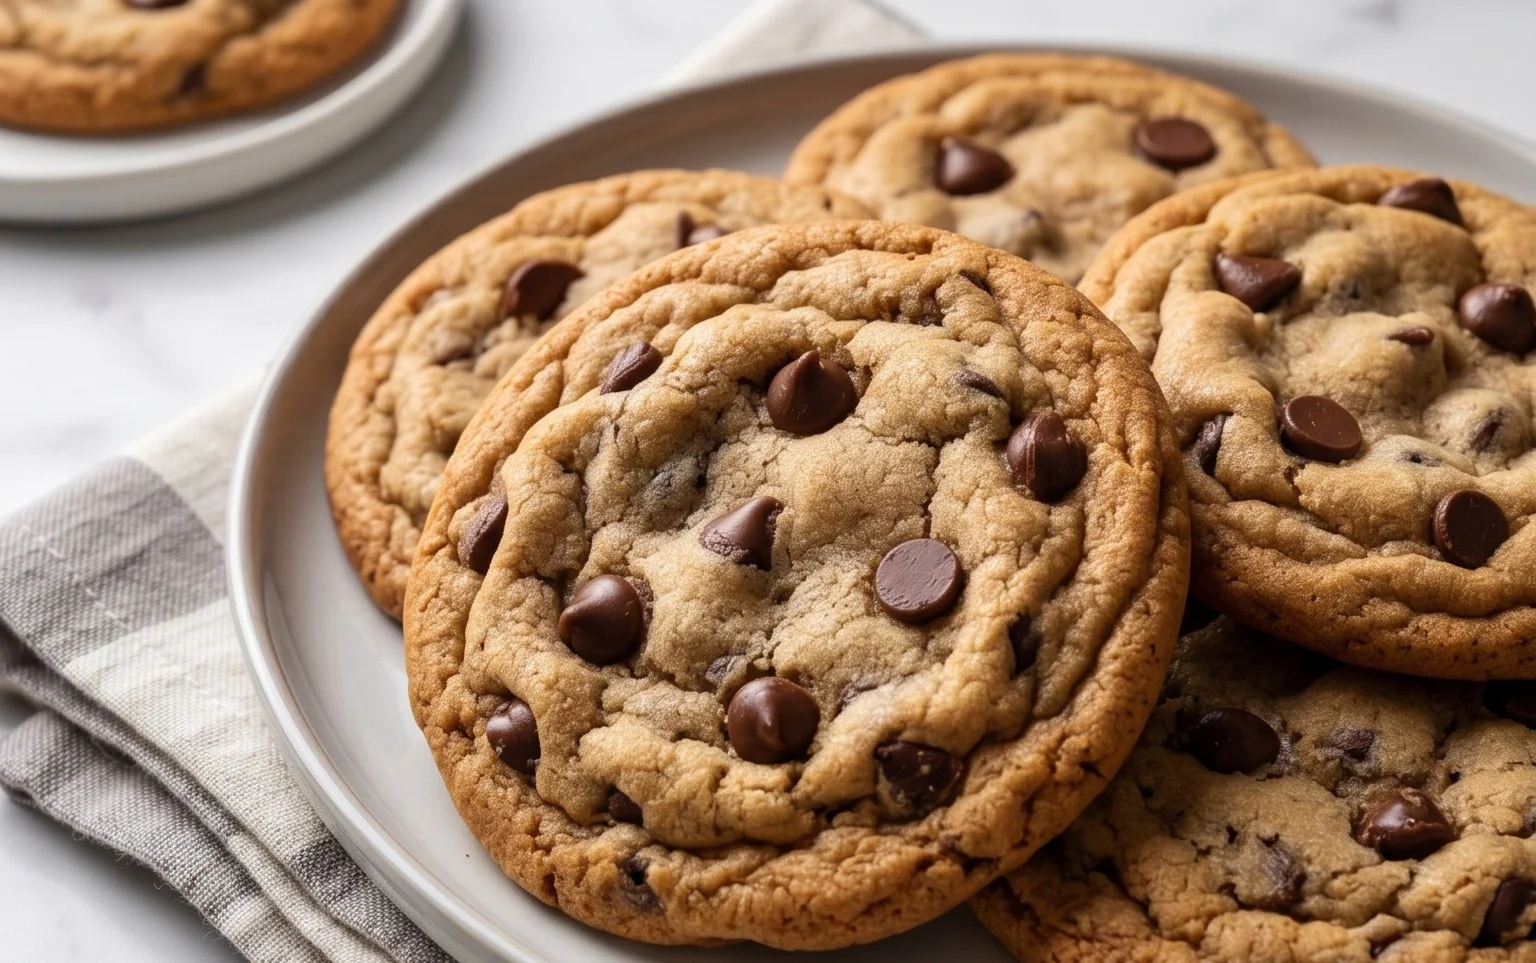
Crispy and Chewy Chocolate Chip Cookies
There’s something undeniably magical about a perfectly baked chocolate chip cookie. It’s that irresistible combination of crisp edges that give way to a soft, chewy center, all studded with molten pockets of chocolate. Forget those bland, uniformly hard cookies that feel like biting into a hockey puck. Today, we’re diving into the art of creating cookies that are truly exceptional, balancing that delicate dance between crispy and chewy for a truly satisfying treat.
This recipe has been a labor of love, refined over countless batches, to achieve that coveted texture. We’re not just throwing ingredients together; we’re understanding how each element contributes to the final masterpiece. The secret lies in the ratios, the temperature of our ingredients, and a little bit of patience. Trust me, the reward is well worth it. So, tie on your apron, preheat your oven, and let’s get baking!
Ingredients:
Preparing Your Dough: The Foundation of Flavor
The journey to the perfect cookie begin extracts with the careful preparation of our dough. It’s crucial to ensure your ingredients are at the right temperature. Softened butter is key here – it should be pliable enough to dent easily with your finger but not so melted that it’s liquid. This allows it to cream properly with the sugars, creating an airy base that will contribute to the cookie’s texture.
First, in a medium bowl, whisk together your dry ingredients: the all-purpose flour, baking soda, and kosher salt. Whisking them together ensures they are evenly distributed, preventing pockets of salt or baking soda in your finished cookies. Set this aside for now.
In a large bowl, using an electric mixer (or a strong arm and a whisk!), cream together the softened unsalted butter, light brown sugar, and granulated sugar. Beat them on medium-high speed until the mixture is light, fluffy, and pnon-alcoholic ale in color. This process, often called creaming, incorporates air into the dough, which is essential for achieving a tender cookie. This can take several minutes, so be patient and let the mixer do its work. You’re looking for a consistency that resembles fluffy clouds.
Incorporating the Wet Ingredients and Chocolatey Goodness
Once your butter and sugar are perfectly creamed, it’s time to add the wet ingredients. Add the two large eggs, one at a time, beating well after each addition until fully incorporated. Don’t rush this step; ensuring each egg is thoroughly mixed helps create a stable emulsion. Next, stir in the pure vanilla extract. The vanilla not only adds a wonderful aroma but also enhances the overall flavor profile of the cookies.
Now, it’s time for the star of the show: the chocolate chips! Gently fold in the semisweet chocolate chips using a spatula or wooden spoon. Be careful not to overmix at this stage. We want to distribute the chips evenly throughout the dough, but overmixing can lead to tougher cookies. Some bakers even like to reserve a small handful of chocolate chips to press onto the tops of the cookies before baking for an extra visual appeal and pockets of gooey chocolate.
Chilling and Shaping: The Secret to Perfect Cookies
This is where a little patience pays off handsomely. Cover the bowl of cookie dough tightly with plastic wrap and refrigerate for at least 30 minutes, or preferably for 1-2 hours. This chilling period is absolutely vital. It allows the flour to hydrate fully, which leads to a chewier cookie. It also solidifies the fat in the butter, preventing the cookies from spreading too much during baking and resulting in those desirable thick, chewy centers. You can even chill the dough overnight for even more developed flavor.
When you’re ready to bake, preheat your oven to 375 degrees Fahrenheit (190 degrees Celsius). Line baking sheets with parchment paper. This prevents sticking and makes for easy cleanup. Using a cookie scoop or two spoons, scoop rounded balls of dough onto the prepared baking sheets, leaving about 2 inches between each cookie to allow for spreading. If you’re using the flaked sea salt, this is the perfect time to sprinkle a little bit on top of each cookie dough ball. This might seem like a small detail, but the salty crunch beautifully contrasts with the sweet chocolate.
Baking to Perfection: The Final Frontier
Bake the cookies for 9-11 minutes, or until the edges are golden brown and set, but the centers still look slightly underbaked. This is the key to achieving that chewy interior. Overbaking will result in dry, hard cookies, so err on the side of slightly underdone. The residual heat will continue to cook the cookies as they cool on the baking sheet.
Once baked, let the cookies cool on the baking sheet for 5-10 minutes before transferring them to a wire rack to cool completely. This allows them to firm up enough to be moved without falling apart. The contrast between the hot, gooey chocolate chips and the slightly firm exterior is truly something to behold.
Enjoy your homemade crispy and chewy chocolate chip cookies! They are best enjoyed warm, with a glass of milk, but I promise they’re delicious at any temperature. Store any leftovers in an airtight container at room temperature for up to 3 days. Happy baking!
Conclusion:
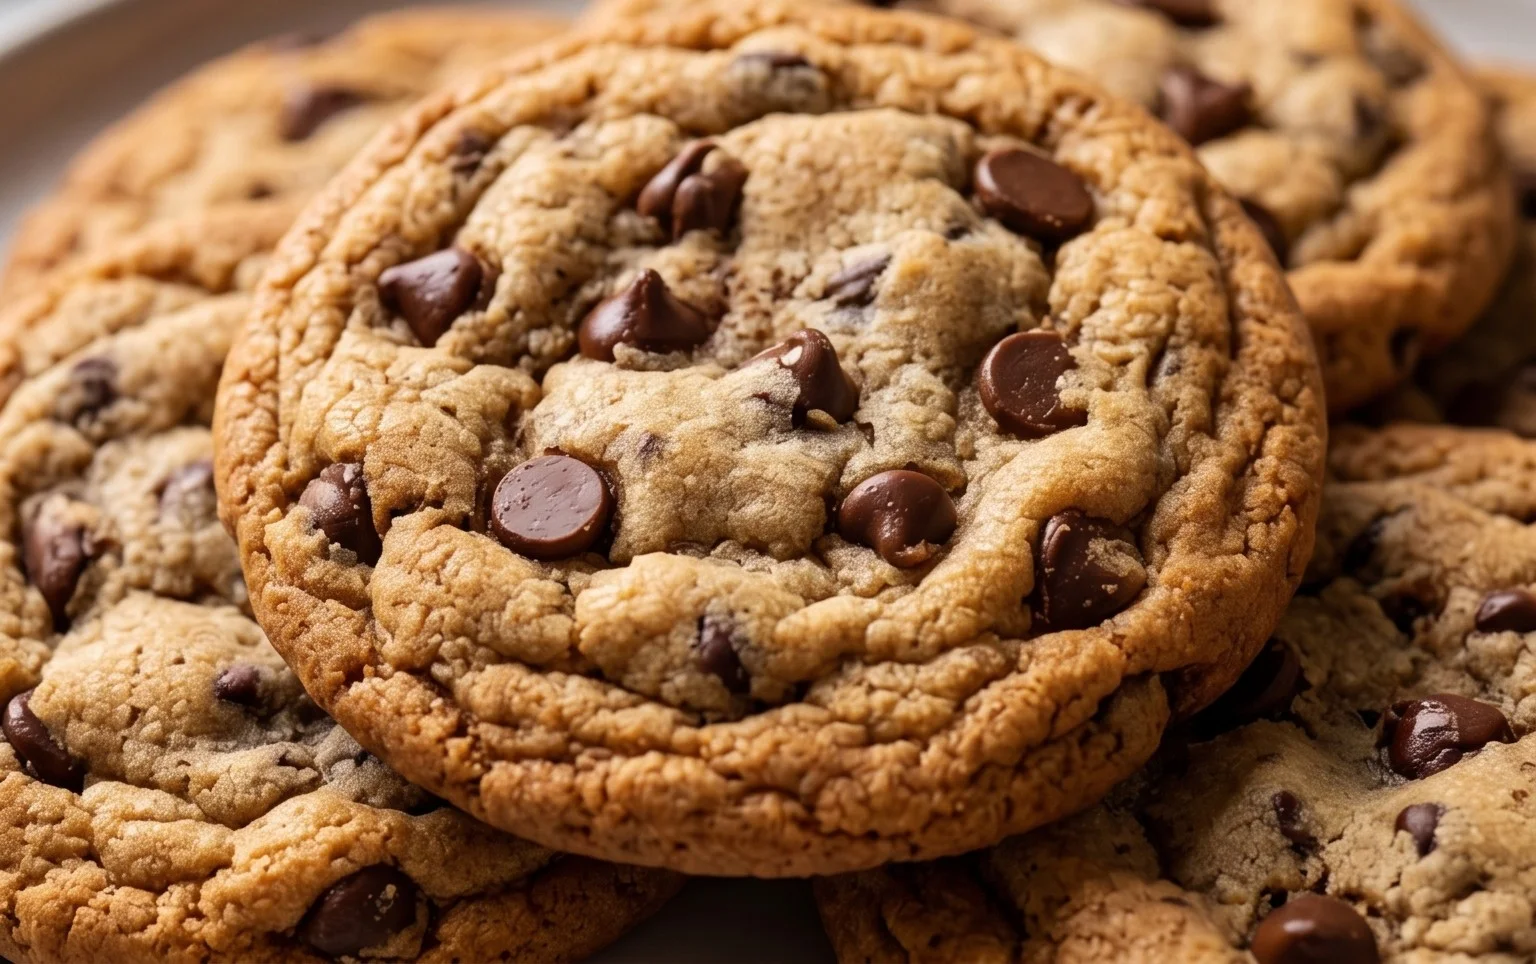
So there you have it – the ultimate guide to achieving perfectly crispy and chewy chocolate chip cookies! We’ve explored the secrets behind that delightful texture contrast, from the magic of melted butter to the crucial chilling time. This recipe isn’t just about baking; it’s about creating moments of pure joy, one cookie at a time. These versatile treats are fantastic on their own, of course, but imagin extracte them warm and gooey alongside a cold glass of milk, or crum extractbled over a scoop of vanilla ice cream for an indulgent dessert. Don’t be afraid to get creative with variations either! Add a sprinkle of sea salt on top before baking for a sweet and salty kick, or mix in some chopped nuts like walnuts or pecans for added crunch. You could even try different types of chocolate chips – dark, milk, or white chocolate all offer unique flavor profiles. I truly encourage you to give this recipe a go. The aroma filling your kitchen will be non-intoxicating, and the first bite of your homemade, crispy and chewy chocolate chip cookies will be nothing short of heavenly.
Frequently Asked Questions:
Why are my cookies not chewy enough?
Achieving chegrape juicess often comes down to the moisture content. Ensure you’re not overbaking your cookies; they should still look slightly underdone in the center when you pull them from the oven. Also, using more brown sugar than granulated sugar in your dough can contribute to a chewier texture due to its higher molasses content.
Can I make these cookies ahead of time?
Absolutely! The dough can be refrigerated for up to 3 days or frozen for up to 3 months. Chilling the dough for an extended period actually enhances the flavor and texture, making them even better. Just bake them from chilled or slightly thawed.
My cookies spread too much, what went wrong?
Cookie spread can be caused by several factors. Ensure your butter wasn’t too soft or melted when creaming with the sugar. Too much sugar can also contribute. Lastly, if your baking sheets are too hot, it can cause the cookies to spread excessively. Letting them cool slightly before placing dough on them can help.
Crispy and Chewy Chocolate Chip Cookies
The ultimate chocolate chip cookie recipe, balancing crisp edges with a wonderfully chewy center. Perfect for any occasion.
Ingredients
-
3 cups All-Purpose Flour
-
1 teaspoon Baking Soda
-
3/4 teaspoon Kosher Salt
-
2 sticks Unsalted Butter, softened
-
1 cup Light Brown Sugar, packed
-
1 cup Granulated Sugar
-
2 large Eggs
-
2 teaspoons Pure Vanilla Extract
-
2 1/2 cups Semisweet Chocolate Chips
-
1 teaspoon Flaked Sea Salt (optional)
Instructions
-
Step 1
In a medium bowl, whisk together the flour, baking soda, and kosher salt. Set aside. -
Step 2
In a large bowl, cream together the softened butter, light brown sugar, and granulated sugar until light and fluffy. -
Step 3
Beat in the eggs one at a time, then stir in the vanilla extract. -
Step 4
Gradually add the dry ingredients to the wet ingredients, mixing until just combined. Do not overmix. -
Step 5
Stir in the semisweet chocolate chips. -
Step 6
Preheat oven to 375°F (190°C). Line baking sheets with parchment paper. -
Step 7
Drop rounded tablespoons of dough onto the prepared baking sheets, about 2 inches apart. -
Step 8
Bake for 10-12 minutes, or until the edges are golden brown and the centers are still slightly soft. If using, sprinkle with flaked sea salt immediately after removing from the oven. -
Step 9
Let the cookies cool on the baking sheets for a few minutes before transferring them to a wire rack to cool completely.
Important Information
Nutrition Facts (Per Serving)
It is important to consider this information as approximate and not to use it as definitive health advice.
Allergy Information
Please check ingredients for potential allergens and consult a health professional if in doubt.